Rykard In Elden Ring is a terrifying Demigod Boss found underneath the Volcano Manor. After the first phase, he pretends to be a God-devouring serpent and reveals his true form (Rykard).
Players can still progress further into the game without defeating Rykard, as he is an optional boss but who doesn’t love a challenging fight in Elden Ring? That is why today we will provide a complete guide on where and how to Find Rykard in Elden Ring.
So, without any further ado, let’s get started.
Find Rykard In Elden Ring Content List
Where To Find Rykard In Elden Ring?
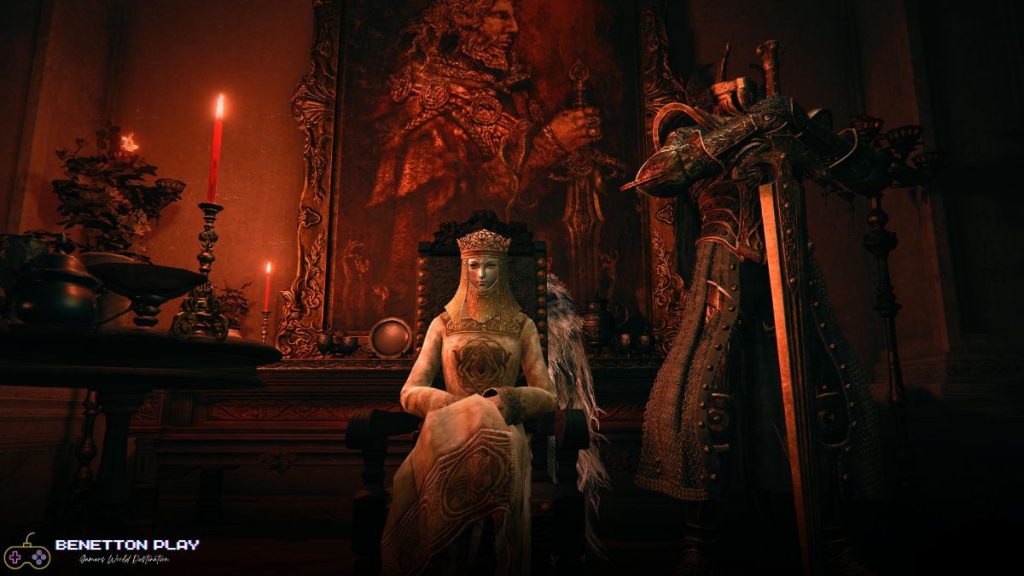
Rykard can be found underneath the Volcano Manor in a large cavern. So when you reach The Volcano Manor, you’ll see a woman you can speak with.
When you speak with her, she will give you the Volcano Manor Quest, which will require you to eliminate 3 NPCs. Once you’ve completed the Quest, she’ll teleport you to the boss.
Here, take a look at this detailed guide to understand better:
Completing The Volcano Manor Quest
1. Explore The Volcano Manor
Keep exploring the hallways of Volcano Manor, and you’ll come across a large room. There will be a table in the large room and you need to interact with the NPC there. She’ll ask you to Join the Volcano Manor. Make sure to agree to her proposal, after which she’ll hand you the drawing room key.
The drawing room key will unlock the doors to the hallway to your right, and you’ll find two more NPCs in the second door to your left. You need to talk to them both, and they’ll provide you with a letter from Volcano Manor.
Once you have the letter, return to the first NPC. She’ll hook you up with a contract to complete. She will also promise compensation, so make sure you complete the contract.
2. Kill Old Knight Istvan
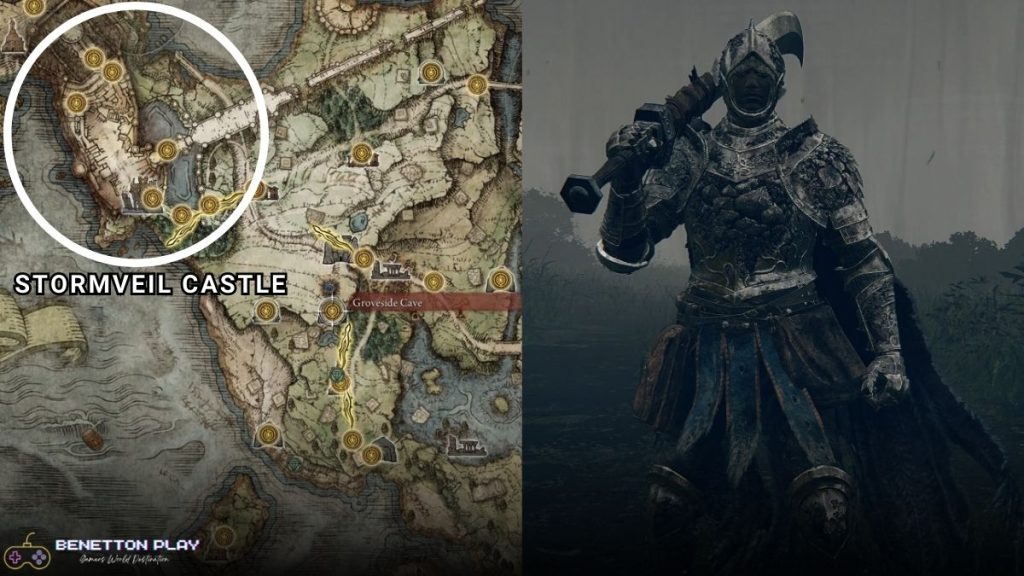
The first Target in your Contract is Knight Istvan, who will be found in the eastern region of Stormveil Castle, which will lead to the Divine Tower of Limgrave. Players can even fast-travel to the Warmaster Shack to get even closer if they wish to.
Once you have arrived, you’ll notice a red summon sign, and by interacting with it, you will summon the Old Knight Istvan. Now, all you have to do is eliminate him from the equation.
You must be careful, as fighting with Old Knight Istvan isn’t everyone’s cup of tea. It would be best if you were extra careful while fighting him, as his attacks can take you down pretty quickly.
Land one blow and dodge back if you’re using melee weapons but we’ll recommend you to use ranged weapons and spells as much as possible, as this might be the safest and probably the best way to eliminate him.
After Eliminating the Old Knight Istvan, return to the Volcano Manor to the NPC next to the Site of Grace. They will reward you with a Magma Shot spell.
After acquiring the Magma Shot spell, head over to the corridor to the righthand, and you’ll find another Letter from Volcano Manor.
Yeah! Finding Rykard will indeed require some hard work, which is why he is also one of the most annoying bosses in the game.
3. Eliminate Rileigh the Idle
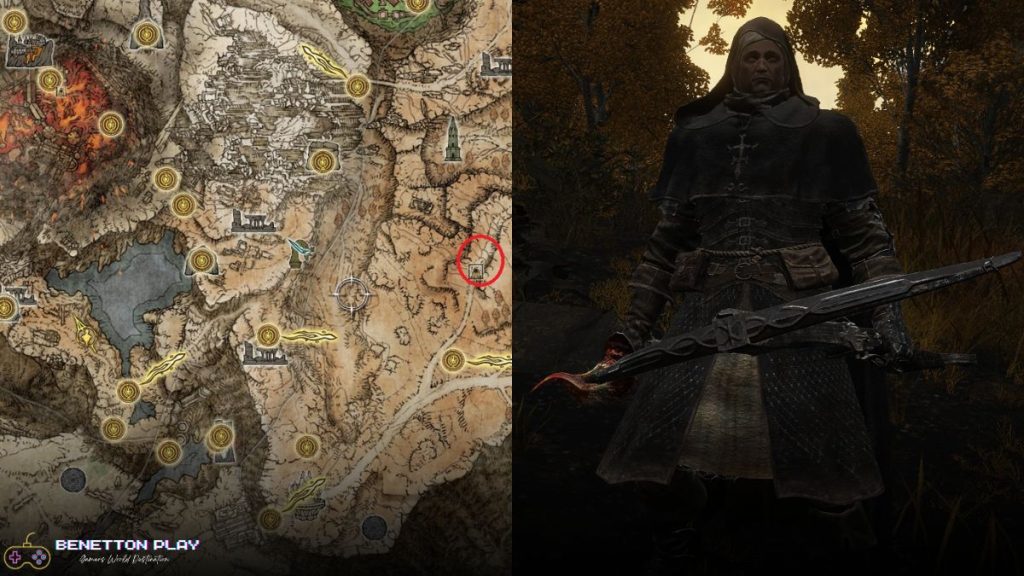
You can find your next target at the Altus Plateau,, situated just south of the Sight of Grace called Bridge of Inquity. Don’t just jump down after finding the summon sign; be careful while dropping down safely.
This fight will be much easier than the first one but do not let your guard down, and watch out for the Scarlet Rot build-up. You’ll slowly take damage if the meter fills up.
Once you’ve defeated Rileigh the Idle, return to the Volcano Manor and talk to the NPC, and then you’ll be rewarded and told about Lord Rykard. Now you need to return to the room with two NPCs and pick up the red letter, which will be placed on the table.
4. Kill Juno Hoslow
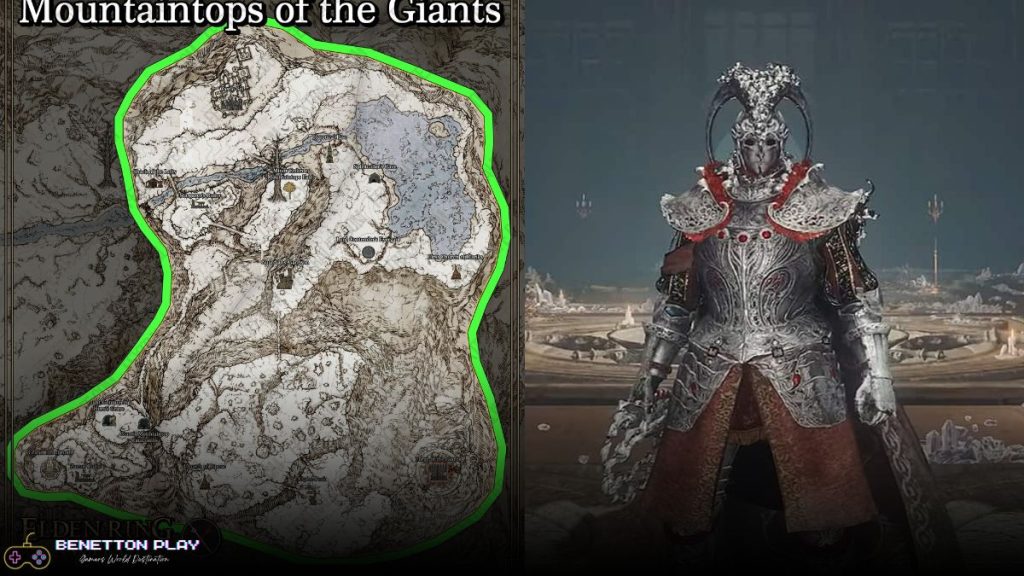
Your final target that Volcano Manor will assign you will be Juno Hoslow, and be aware that he won’t be accessible until you’ve progressed much further into the game.
This NPC is located at the Mountaintops of the Giants, and players will be able to reach this place after passing through Leyndell, Royal Capital. This means players would need to go through a lot of trouble as they would need to defeat Godrick The Grafted, Rennala, Queen of the Full Moon, etc.
Ancient Snow Valley Ruins would be the nearest sight of grace to Juno Hoslow. Look for the red summon sign around the frozen river. Defeating Juno Hoslow isn’t going to be difficult as his ability is that he can turn invisible for a second.
Juno Hoslow is equipped with a whip in both hands and can heal like the other enemies. Players can obtain Hoslow Armor after defeating Juno Hoslow.
Once you have completed the Vanor Quest, Tanith will teleport you to the boss. Yeah! I know reaching the boss can be tricky as you must go through many events. But there’s a different Path as well.
Finding Rykard Without Completing The Volcano Manor Quest!
Players must find Rykard independently if they choose not to complete the Volcano Manor Quest. It can be difficult but do not worry; we will provide you with all the steps you need to do to reach the final boss.
1. Get Underneath The Volcano Manor
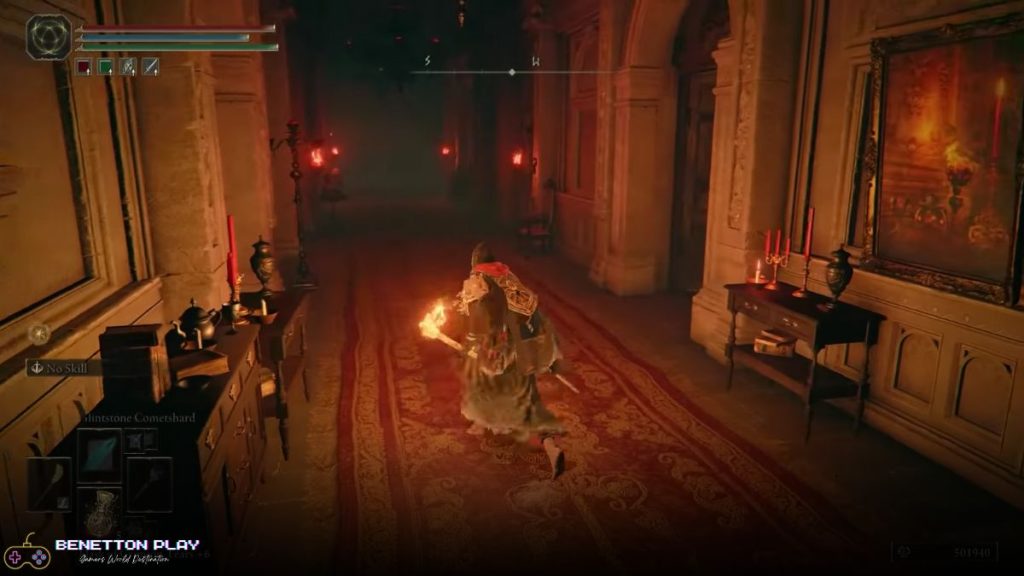
Go down the corridor from the entrance hall, then enter the first room to your right; the Dragon Room key will open the door.
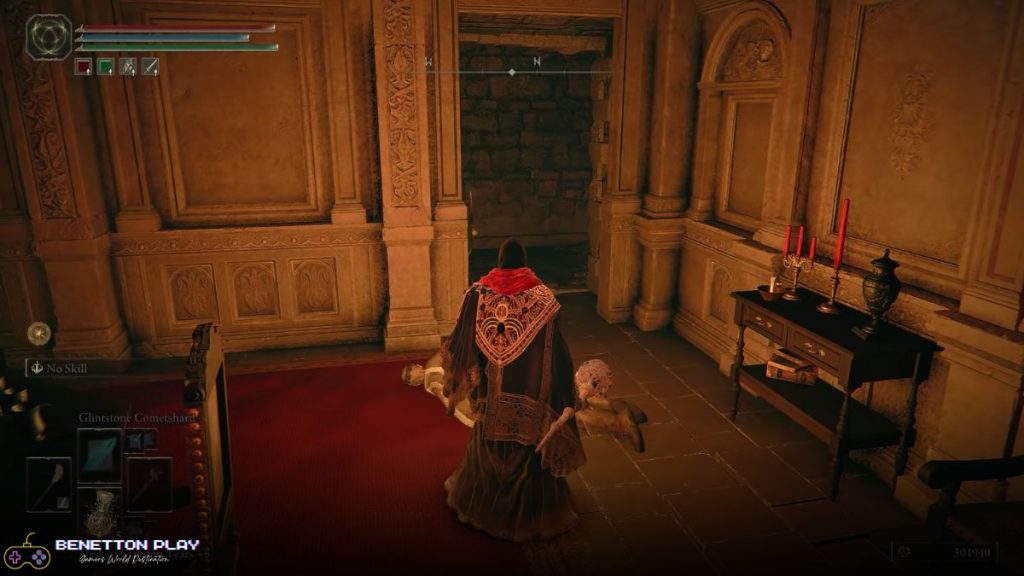
You’ll find a body lying in the corner of the room and behind it, there’ll be an illusionary wall that you can attack to reveal an entrance.
Go left from the entrance and make sure to equip a torch as it would be very dark. As you keep going down the path, you’ll come to a church with a Site of Grace inside. Now go inside, open the doors behind it, and you’re underneath the Volcano Manor.
2. Open Up The Shortcut
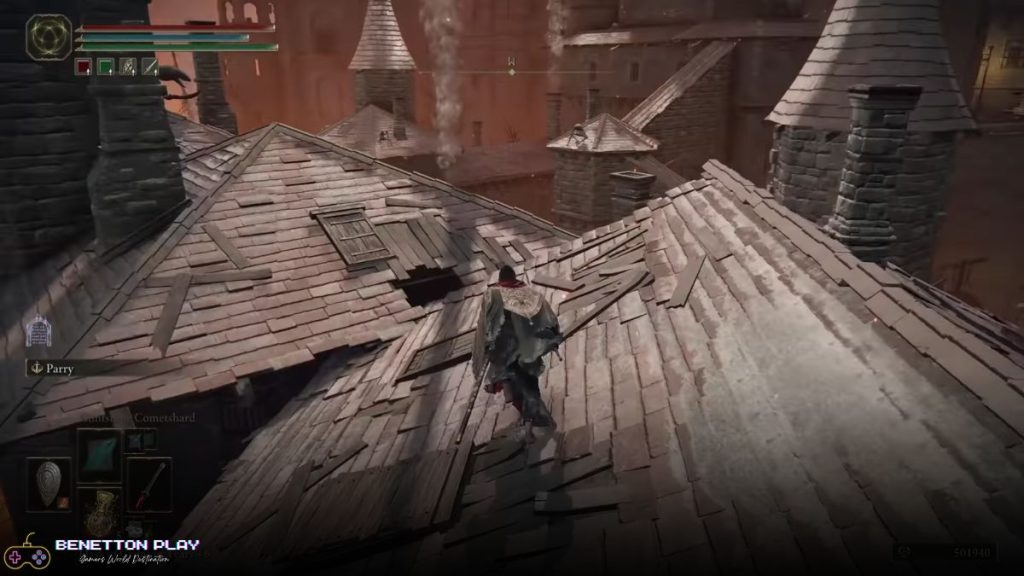
Now, head over to the right side, and it will lead you down to the rooftops. Keep jumping down the rooftops, and you’ll spot a Fog Door ahead of you, but do not go inside it.
On the left, you’ll encounter another building guarded by a giant lizard. Do not enter the building through the entrance. Go around the right side of the building, and you’ll find a ladder.
Go inside the only open window in the building. Now, go downstairs, and you’ll find a sight of grace. Now, back outside, you’ll find a ladder to climb down.
Progress further through the path to the left, then jump across the side after you spot an enemy hanging by the side of a building and holding an item.
Keep moving ahead on the path to the right-hand side. Just watch out for the lava coming from the cages. Now step inside the cage, which has a firepit next to it.
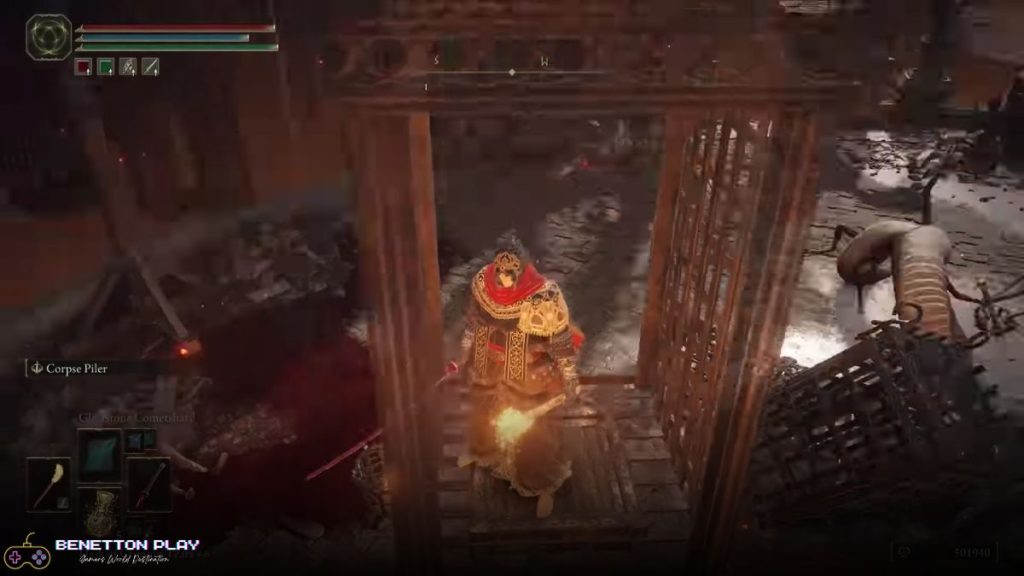
This cage is a lift that will take you up to the other side of the bridge,, allowing you to level up to the left and open up the bridge for use. Now, head into the building to activate the bridge.
3. Kill Godskin Noble and Find The Teleporter To Rykard!
Now you’re going to face Godskin Noble, so make sure to be well-equipped for that, and once he’s defeated, use the elevator to your right.
Head through the doorway and jump out of the balcony carefully. Now, keep moving forward. You’ll reach an area that looks like a dead end but is not. It would be best if you dropped down onto the path to your left.
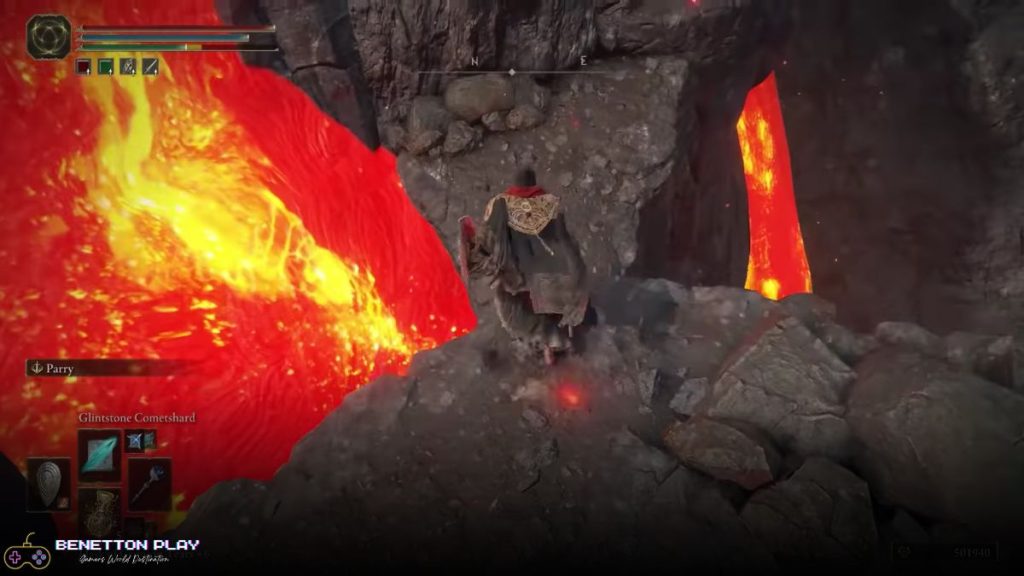
Climb the rocks; you’ll need to jump across the other side while avoiding the lava.
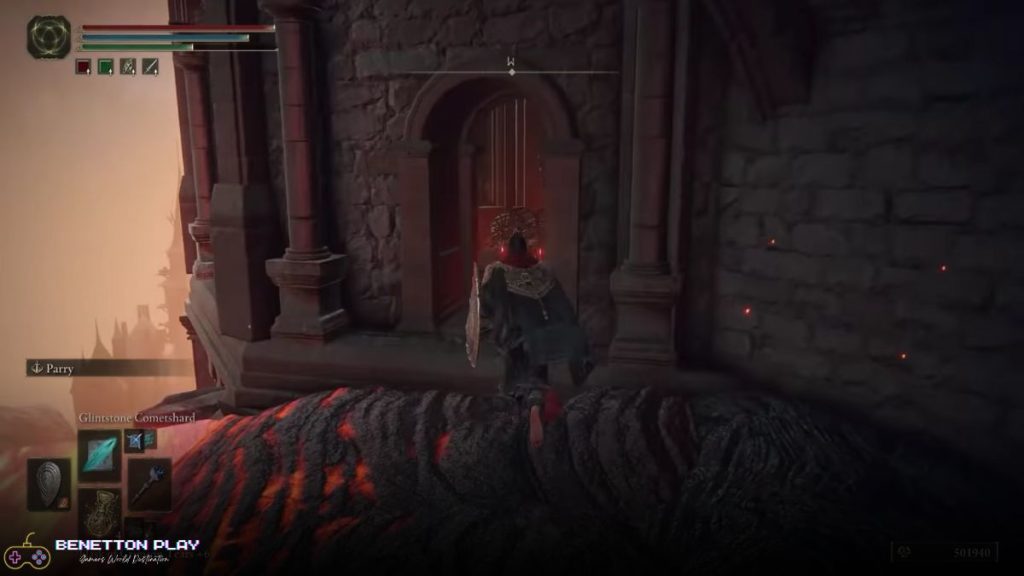
After crossing the lava, you will come across an open window, climb inside it, and keep moving forward. From here on, you guys need to keep going.
Climb the ladder, avoid all the enemies, and keep moving up the staircase, and you’ll end up on a balcony with a teleporter that will teleport you to Rykard. Now be well-equipped, as Rykard isn’t going to be an easy enemy to take on and defeat.
Over To You
And there you have it guys! This was our complete guide on finding Rykard in Elden Ring, and we hope that you guys won’t have to spend countless hours searching for the demigod boss.
If you have any doubts regarding the information we provided, please write them down in the comments section, and we’ll get back to at the earliest.
Frequently Asked Questions
Where is Rykard In Elden Ring?
Rykard is a demigod boss that can be found beneath the Volcano Manor.
How can I find Rykard?
Players need to complete the volcano manor quest to find Rykard, and the Tanith will teleport the players to the boss. However, players can also find Rykard on their own.
What Level Should I Be to Fight Rykard?
I recommend players above level 70 to fight Rykard, as he is a formidable opponent.